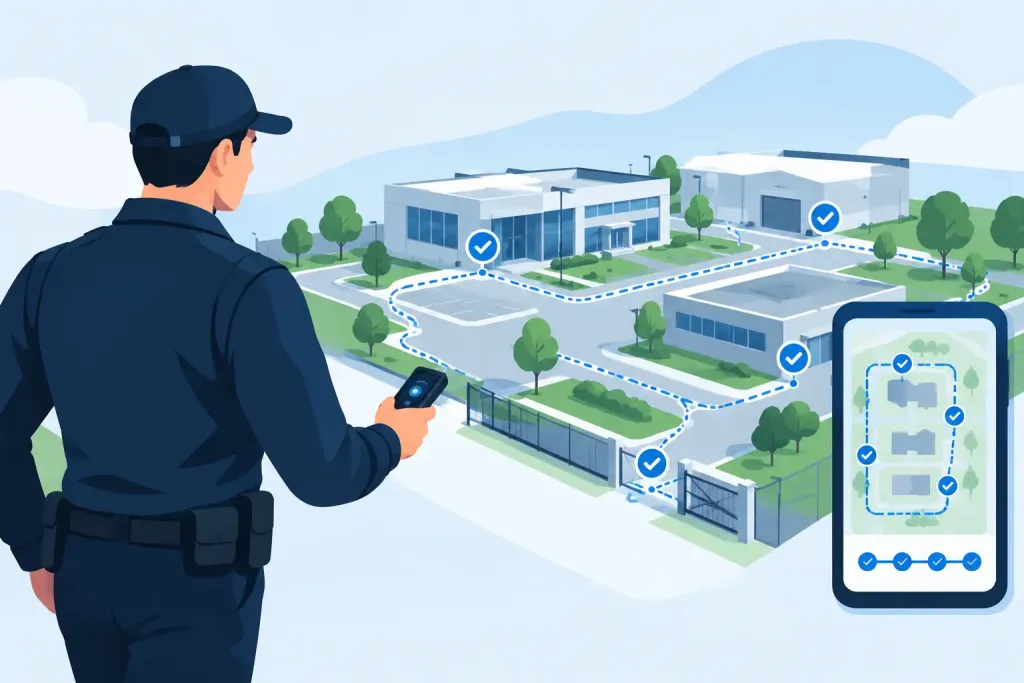
A patrol route is not a line on a site map. It is a control measure: a defined sequence of checks designed to expose risk, verify guard presence and trigger action before a minor issue becomes a serious incident. Knowing how to configure patrol routes properly gives managers more than a completed tour record. It gives them live evidence that critical areas were checked at the right time, by the right person, with exceptions visible immediately.
Poorly planned routes create predictable gaps. Guards may pass low-risk locations too often while plant rooms, fire exits, perimeter points or lone-worker areas receive too little attention. A well-configured digital route corrects that imbalance and creates a defensible record for clients, insurers and internal audits.
Start with the site risks, not the checkpoints
Before placing QR codes, NFC tags or virtual GPS checkpoints, assess what the patrol must achieve. The route should reflect the site’s operating risks, rather than simply following the easiest walking path. A warehouse on a night shift may require frequent checks of loading bays, perimeter fencing and unauthorised vehicle access. An office building may need focused checks around access-controlled doors, visitor areas, fire exits and vulnerable floors after hours.
Walk the site with the supervisor or experienced officers who understand its routines. Identify where an incident is most likely to occur, where the consequences would be highest and where a guard’s visible presence acts as a deterrent. Also consider areas where conditions change during the day, such as construction zones, delivery yards, hospitality venues and public-facing entrances.
A practical route design normally separates checkpoints into three groups: critical security points requiring frequent verification, routine inspection points checked on every tour, and conditional points used only when a specific risk or task applies. This prevents guards from being overloaded with unnecessary scans while ensuring high-consequence areas receive the attention they require.
Map checkpoints to a clear patrol purpose
Every checkpoint should answer a simple operational question. For example: was the fire exit secure, was the plant room accessible, was the gate locked, was the perimeter intact, or was the lone worker welfare check completed? If there is no meaningful answer, the checkpoint may be adding movement without adding control.
Give each checkpoint a clear, recognisable name. “North Gate – Pedestrian Access” is more useful than “Point 12”, especially when a manager is reviewing a live patrol or investigating an exception. Consistent naming also improves client reports and reduces ambiguity when officers work across multiple sites.
The right checkpoint technology depends on the environment. QR codes are quick to deploy and easy to replace. NFC tags can be more discreet and are useful where labels may be damaged or removed. Beacons can confirm proximity in defined spaces, while GPS-based virtual checkpoints support large external areas, remote estates and vehicle patrols. In higher-risk locations, it may be sensible to combine location verification with a required task or form rather than relying on a scan alone.
How to configure patrol routes with realistic timings
Set routes around operational windows, not arbitrary intervals. A route scheduled every hour may appear thorough, but it can be ineffective if it clashes with handovers, access peaks, scheduled deliveries or other duties. Establish when each route must start, how long it should reasonably take and how much flexibility the guard needs to deal with normal site conditions.
A route that is too tightly timed encourages rushed checks and poor-quality records. One that is too generous can conceal slow response, missed areas or deliberate shortcuts. The objective is not to measure walking speed. It is to establish an expected patrol duration that reflects the distance, the checks required and the likelihood of interruption.
For each route, configure:
- the patrol start window and any latest acceptable start time;
- the required checkpoint sequence, where sequence matters;
- expected completion time and an overdue threshold;
- instructions or tasks attached to specific checkpoints; and
- the escalation path if a patrol is missed, delayed or incomplete.
Not every route needs a fixed sequence. On a large site, allowing guards to complete a group of checkpoints in a flexible order can support safer decision-making and avoid predictable patterns. However, a strict sequence is appropriate where checks must follow a process, such as opening or locking a building, inspecting a hazardous area or confirming emergency equipment in order.
Build instructions into the route
A scan proves presence at a point. It does not automatically prove that the guard inspected the condition of that point. Where the quality of the check matters, attach concise instructions, a checklist or a mobile form to the checkpoint.
At a loading bay, the task might ask whether shutters are secure, keys are controlled and vehicles are authorised. At a fire exit, the guard can confirm that the door is unobstructed, locked where required and free from damage. If an issue is found, the officer should be able to log an incident, add photographs and notify the relevant contact from the same workflow.
Keep instructions specific and brief. Guards should not need to scroll through a long policy document during a live patrol. The most effective instructions state what to inspect, what good looks like and what action to take when the condition is not acceptable.
This is also where patrol configuration supports compliance. Digital occurrence records, time-stamped forms and incident photographs create a transparent audit trail. For security providers working to BS 7499 requirements or client service-level agreements, that evidence demonstrates both attendance and the quality of the activity performed.
Configure exceptions before the first shift
A route only becomes a management tool when exceptions trigger the right response. Configure alerts for missed patrol starts, overdue tours, missed checkpoints, panic alarms and man-down events. Decide who receives each notification, how they acknowledge it and what escalation follows if the issue remains unresolved.
Avoid alert fatigue. Sending every minor delay to every manager will eventually lead to notifications being ignored. Match the alert to the risk. A missed scan at a low-risk internal corridor may require supervisor review. An incomplete perimeter patrol at a critical infrastructure site may need immediate contact with the officer and escalation to the duty manager.
Account for legitimate exceptions too. A guard may be responding to an incident, supporting emergency services or dealing with a safety concern when the route becomes overdue. The system should allow the reason to be recorded clearly, rather than forcing officers to choose between abandoning an incident and completing a meaningless scan. Good exception records protect the guard as well as the organisation.
Test routes in live conditions
Do not treat route configuration as finished when the checkpoints appear on a screen. Run the route during the shift pattern it is intended to support. Test signal strength, scanning reliability, lighting conditions, access restrictions and the actual time needed to complete meaningful checks.
Pay particular attention to basements, plant rooms, remote compounds and external perimeters. These are often the areas with weaker connectivity, more challenging conditions and greater lone-worker exposure. A cloud-based system should store activity securely when connectivity drops and synchronise records when the device reconnects, but teams still need to confirm that the workflow remains practical for officers on the ground.
During the trial, ask guards whether checkpoint labels are clear, instructions are usable and the route creates unnecessary backtracking. Their feedback matters, but it should be balanced against the risk assessment. The quickest route is not always the safest or most defensible route.
Review data and adjust the route
Once routes are active, use patrol data to look for patterns rather than judging performance on a single late scan. Repeatedly missed points may indicate poor checkpoint placement, an unrealistic schedule, a training gap or a deliberate failure to complete the tour. Frequent incidents at one location may justify more frequent checks, a new task or wider physical security improvements.
Review routes after changes to the site as well. New construction works, altered access arrangements, seasonal opening hours, changes in occupancy and new client requirements can all make an existing patrol plan obsolete. Multi-site operations should maintain local route detail while applying consistent naming, reporting and escalation standards across the estate.
QR-Patrol enables supervisors to configure routes, verify attendance through multiple checkpoint technologies and monitor exceptions in real time. That visibility helps teams intervene while the shift is still in progress, rather than finding an incomplete paper log the following morning.
The strongest patrol route is one a guard can complete safely, a supervisor can monitor live and a client can understand without explanation. Configure it around real risks, give each checkpoint a purpose and treat every exception as information that can improve the next shift.